
Mastering ISO: A Beginner's Guide to Photography

A high ISO to capture a dark temple
If you're just beginning your photographic journey, you may have encountered the term ISO and wondered what it's all about. Fear not, we're here to unravel the mystery of ISO and guide you through its importance in crafting stunning images.
ISO (International Organization for Standardisation), is a fundamental aspect of photography that governs your camera sensor’s sensitivity to light. In simpler terms, it determines how bright or dark your photos appear, depending on the available light in your environment.
Think of ISO as the dimmer switch in a room. When shooting in low light conditions, you can increase the ISO to amplify the camera's sensitivity to light, brightening your images without the need for additional lighting. Conversely, in well-lit environments, lowering the ISO reduces sensitivity, resulting in cleaner, less noisy photos.
Understanding ISO is crucial because it allows you to adapt to various lighting situations and achieve optimal exposure in your photographs. Whether you're capturing the vibrant hues of a sunset or the subtle nuances of a dimly lit interior, mastering ISO empowers you to control the brightness and clarity of your images.
So, how do you navigate the realm of ISO as a beginner? Let's take a look:
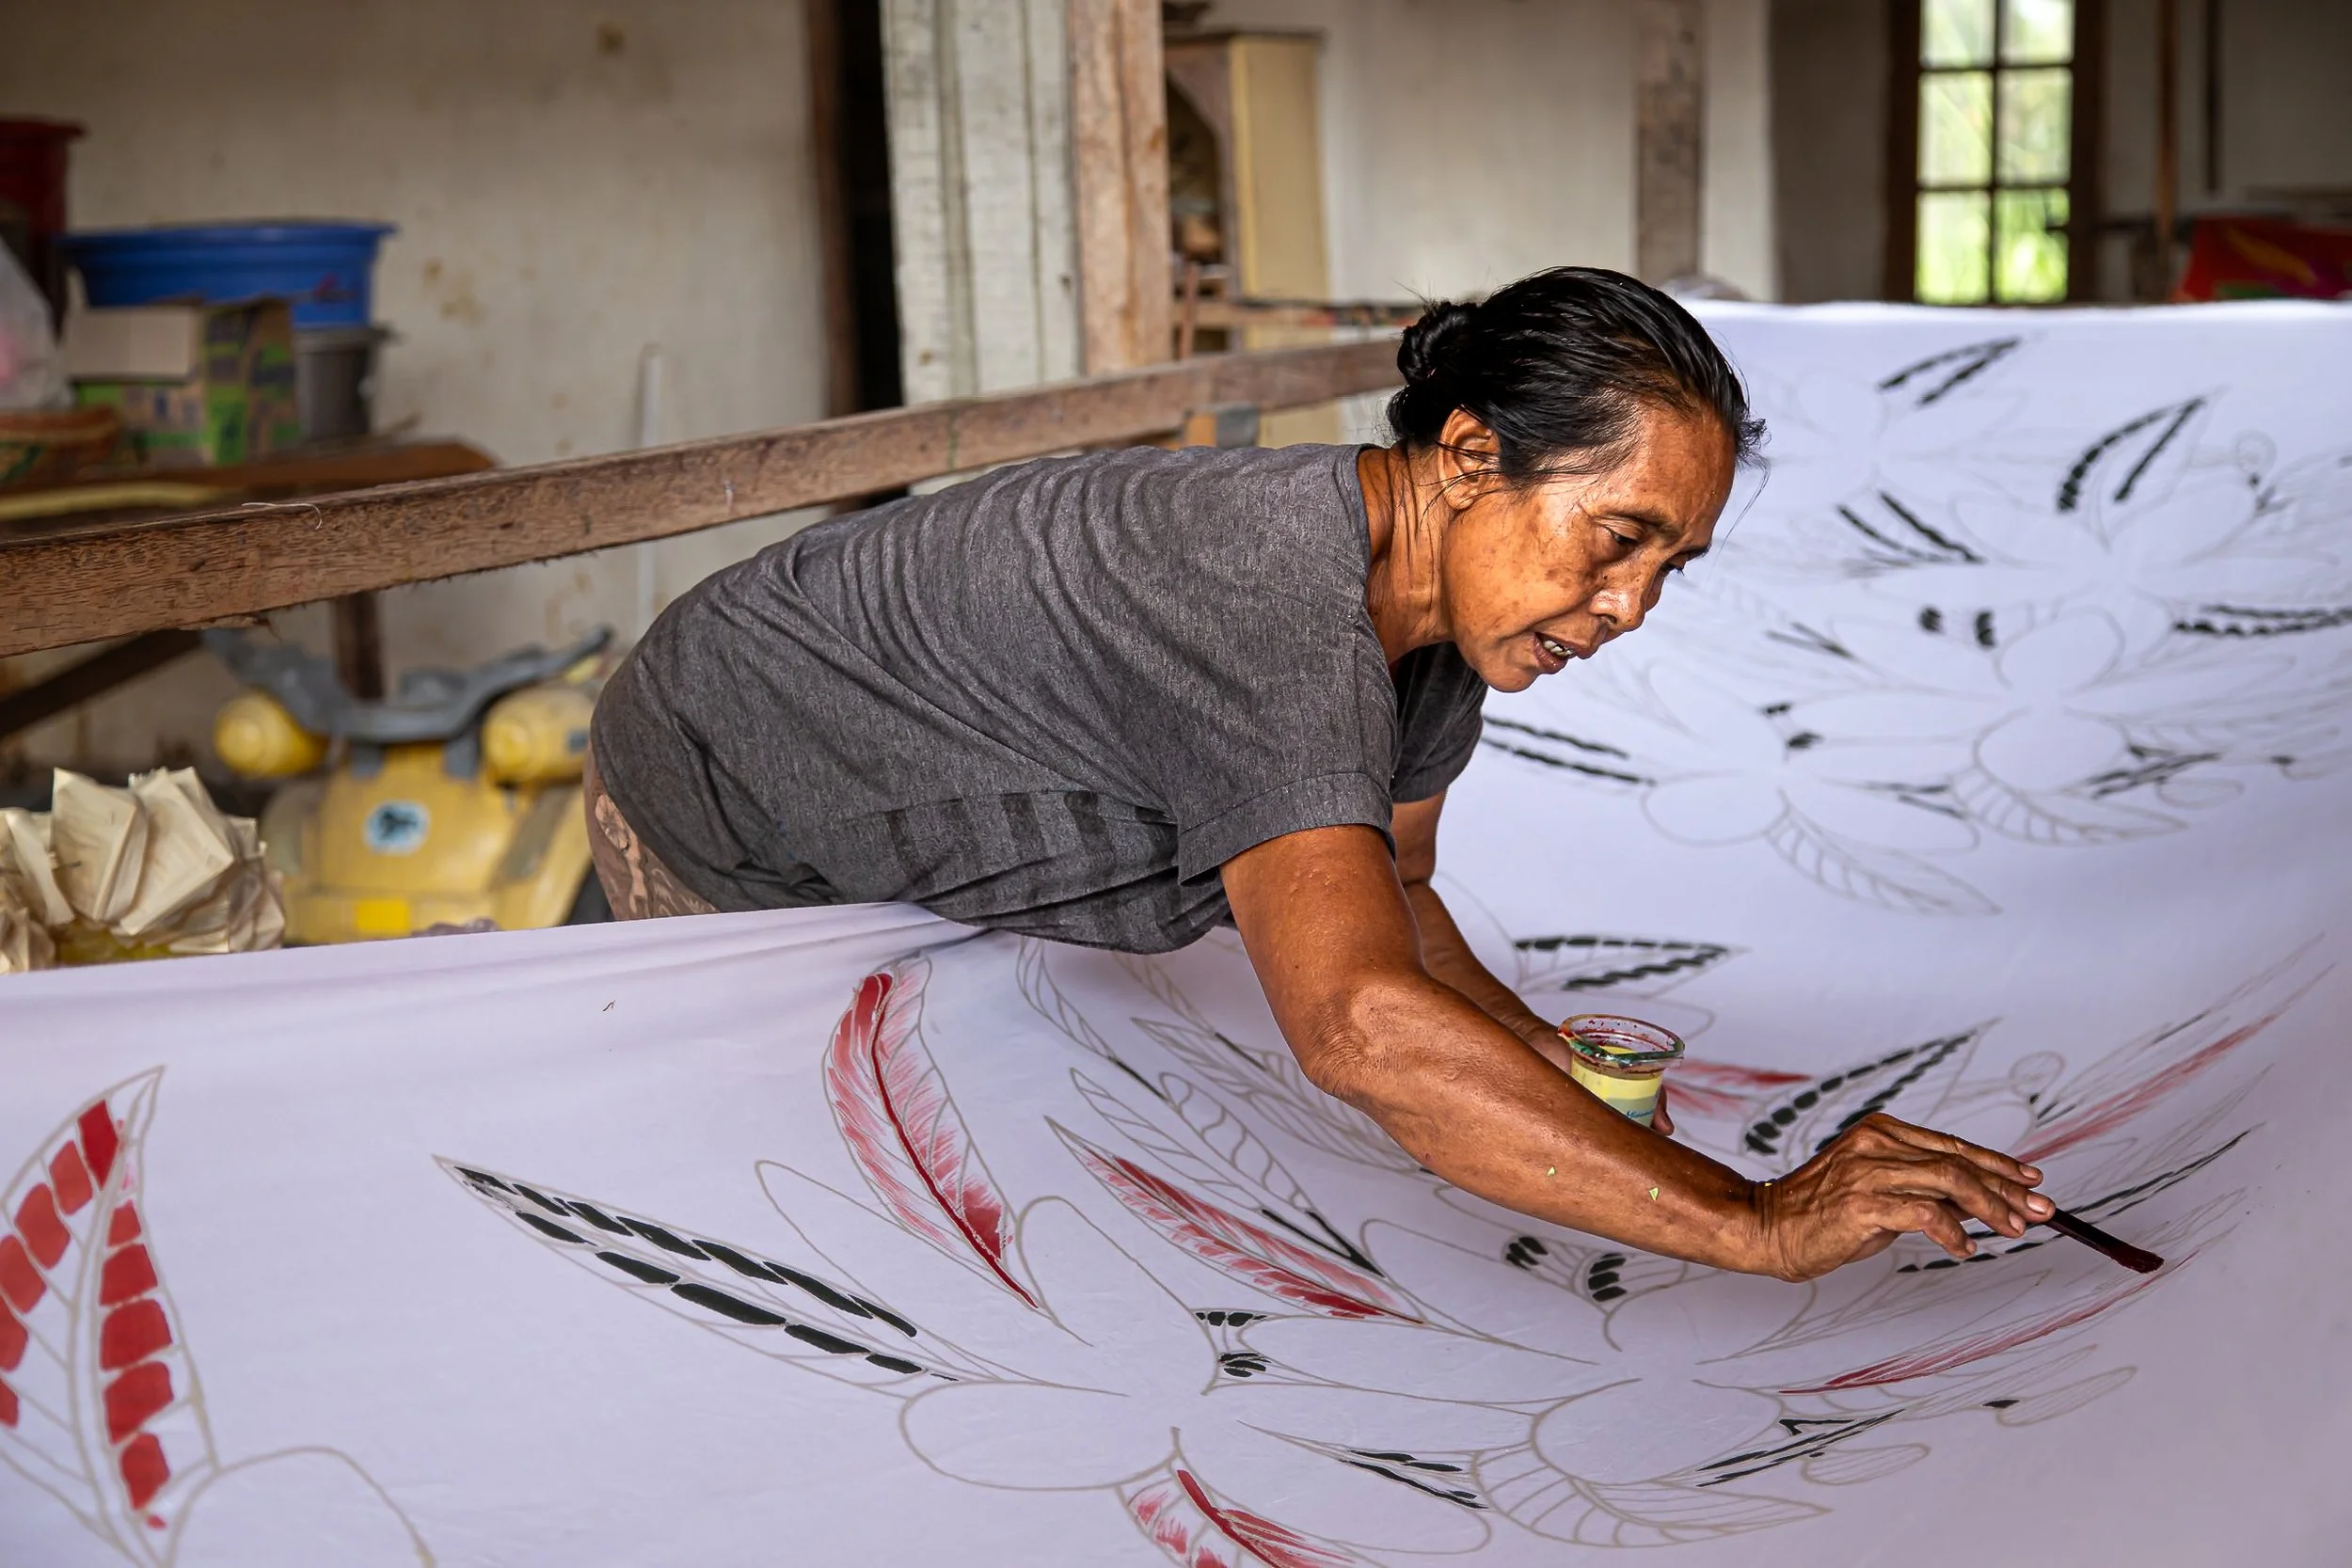
Use a higher ISO when shooting indoors with available natural light
Know Your Camera: Familiarise yourself with your camera's ISO settings and how to adjust them. Most cameras offer a range of ISO values, from low (e.g., ISO 100) to high (e.g., ISO 3200 or higher).
Understand the Trade-offs: While increasing ISO brightens your images, it also introduces digital noise, which can degrade image quality. Strike a balance between achieving proper exposure and minimizing noise by choosing the lowest ISO setting possible for the given lighting conditions.
Consider the Lighting: Assess the ambient light in your scene and adjust the ISO accordingly. In bright outdoor settings, such as a sunny day, a low ISO (e.g., ISO 100 or 200) is sufficient. In low-light environments, such as indoor spaces or twilight, gradually increase the ISO to maintain adequate exposure (see the image at the top of this article).

Use a low ISO when the scene is bright
Experiment and Learn: Take the time to experiment with different ISO settings in various lighting conditions. Pay attention to how changing the ISO affects the brightness and quality of your photos. Don't be afraid to push the boundaries and explore the full range of ISO values your camera offers.
Review and Refine: Review your photos and analyze the impact of different ISO settings on the final results. Use this feedback to refine your technique and improve your understanding of ISO in photography.
Photography is a journey of exploration and discovery, where every image is a canvas for your creativity. Embrace the learning process, experiment fearlessly, and let your passion for photography illuminate your path. Grab your camera, adjust your ISO, and embark on an adventure filled with light, shadows, and endless possibilities!
